
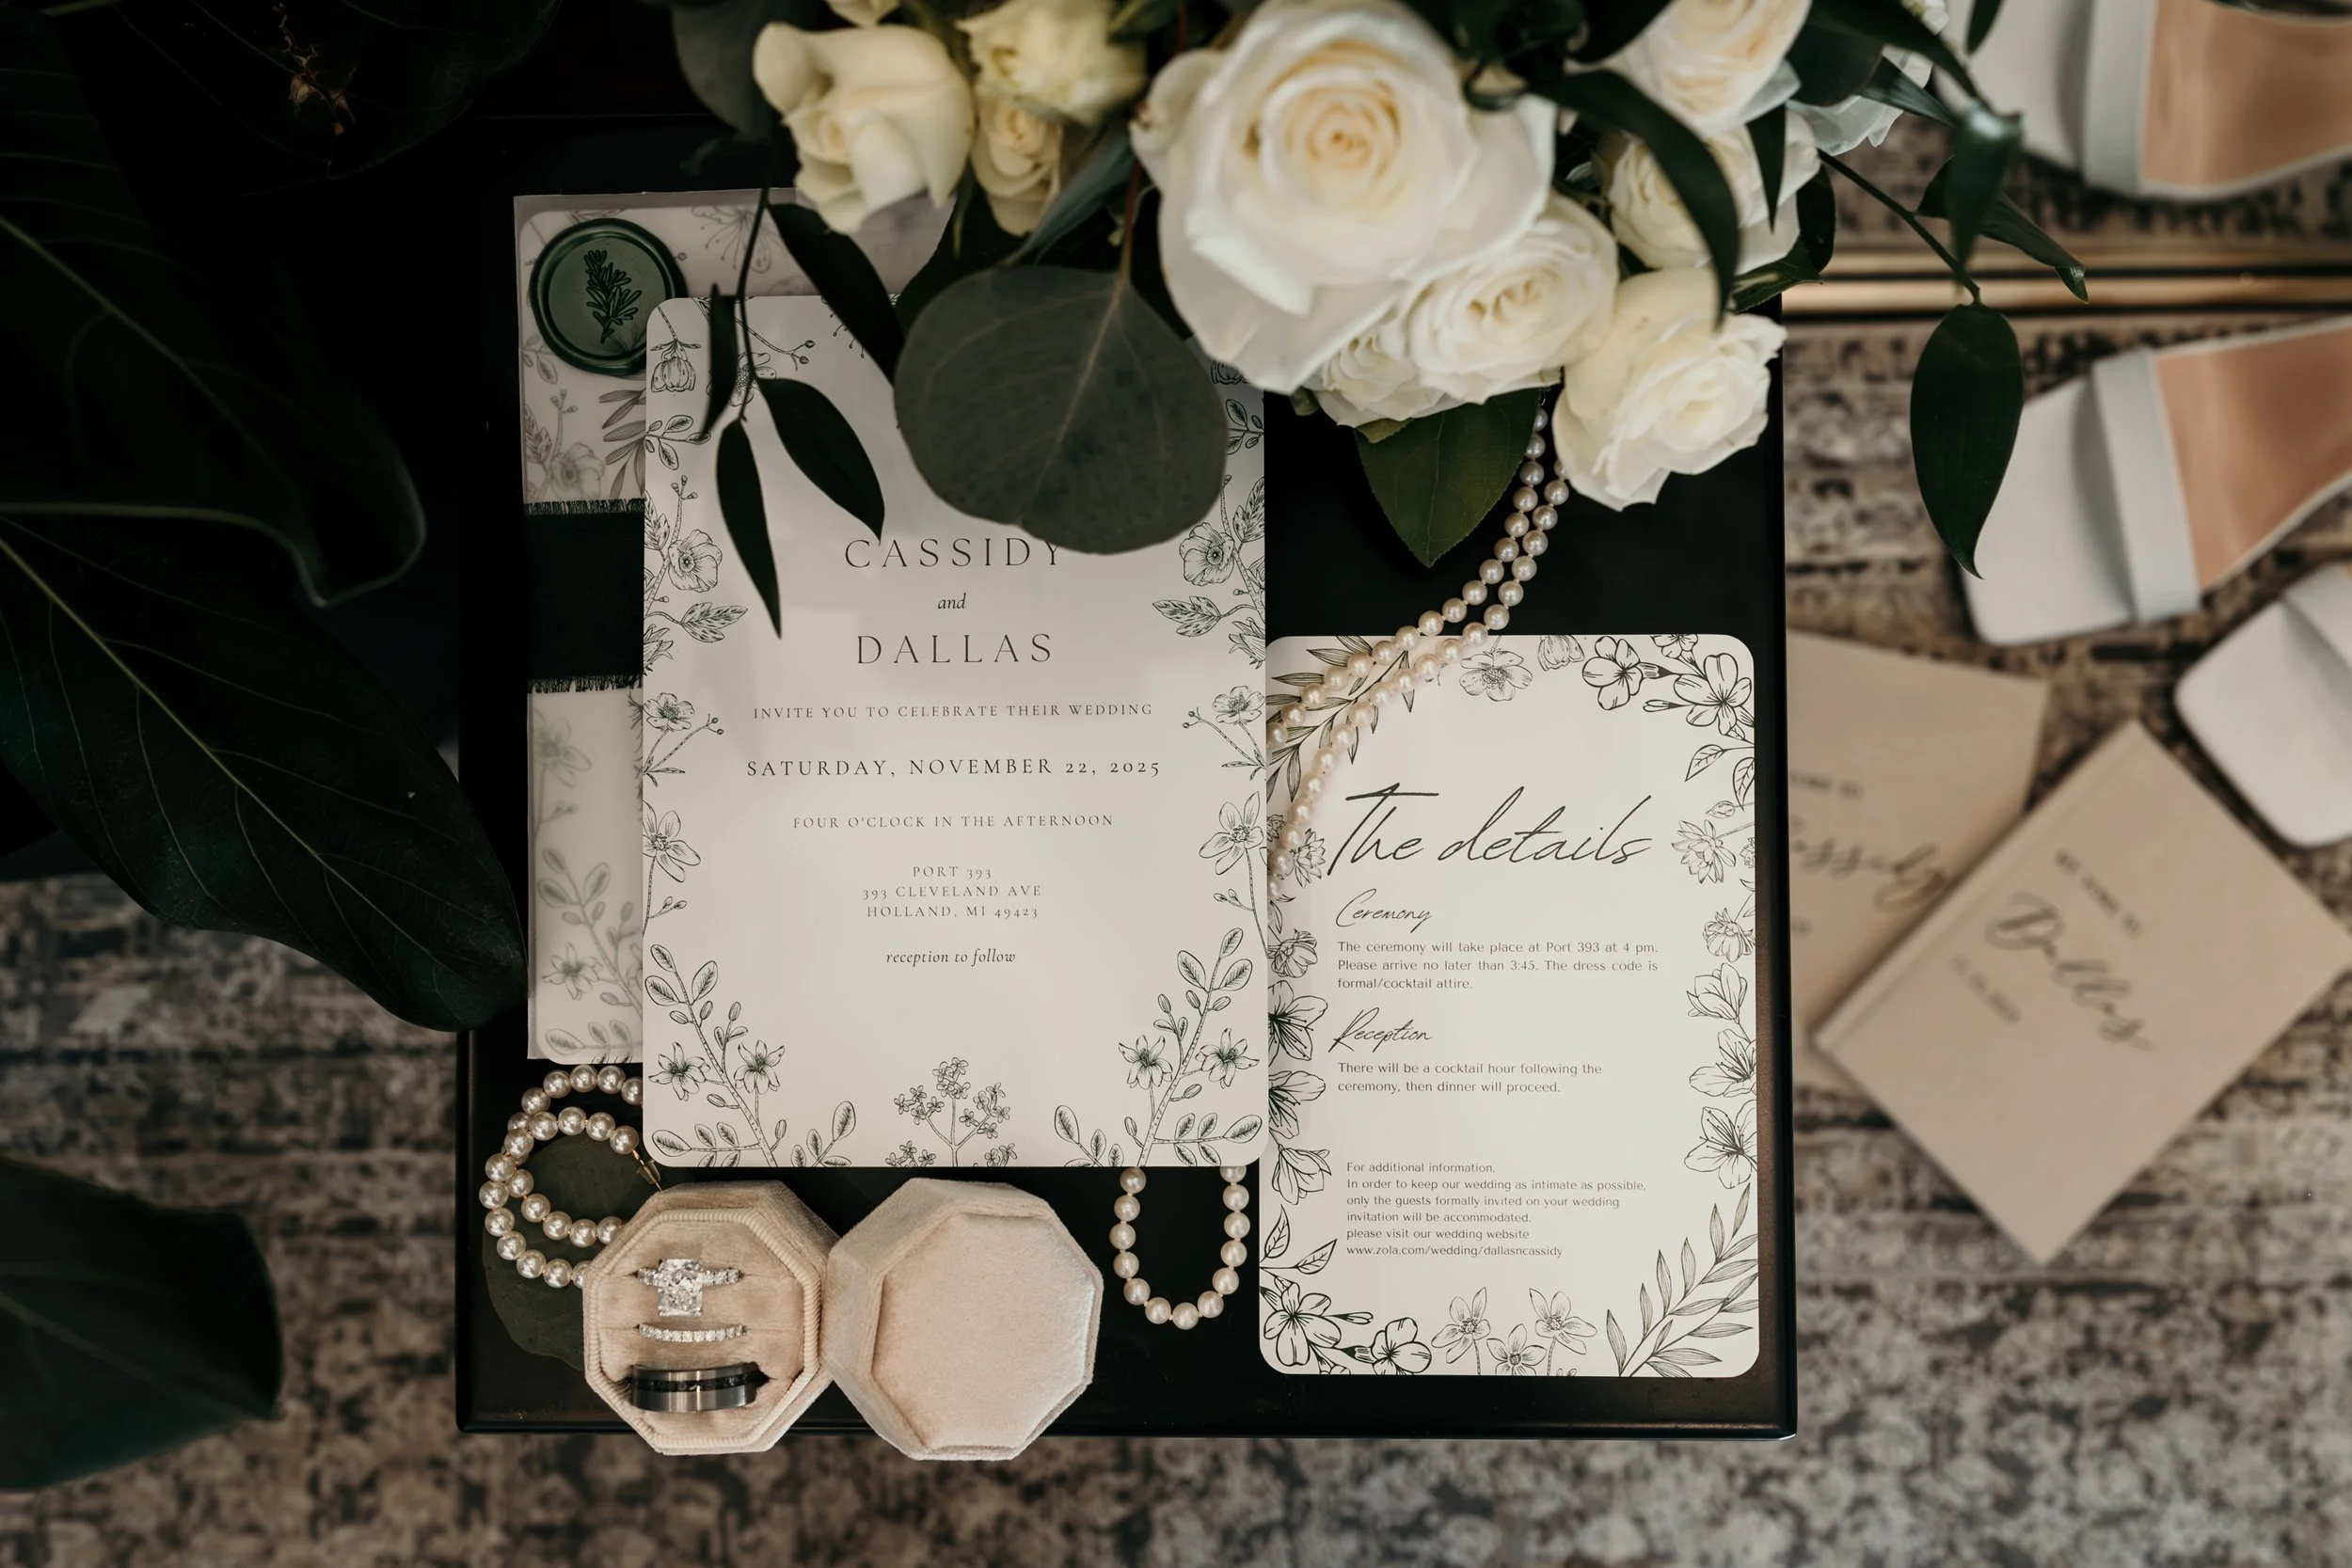
The Ultimate Guide to Setting Up a Wedding Email
(So Your Life Doesn’t Become an Inbox Dumpster Fire)
If you’re planning a wedding, your regular inbox is about to get absolutely steamrolled.
Between venue contracts, catering questions, dress orders, hotel blocks, Aunt Linda’s “quick question,” and a photographer asking for a timeline…it adds up fast. A dedicated wedding email keeps everything in one place, makes searching easy, and (most importantly) keeps your personal inbox from turning into a stressful mess you avoid opening.
Below is everything, platform options, how to set it up step-by-step (especially Gmail), and the little tricks that make it actually useful.
Why a dedicated wedding email is worth it
1) You stop losing important stuff
Vendor confirmations, invoices, contracts, and logistics emails shouldn’t be mixed in with Target receipts and your dentist reminders.
2) It’s easier to stay organized as a couple
If you and your fiancé/partner both need access, a shared wedding inbox avoids constant forwarding, screenshots, and “did you reply yet?” conversations.
3) You can hand it to a planner or coordinator (if needed)
Even if you don’t have a full planner, you might have a day-of coordinator later. A dedicated email makes it easy to share just wedding info without giving access to your personal life.
4) Search becomes your superpower
Need the hotel block code? Search “hotel block.” Need the invoice? Search the vendor name. Done.
5) It reduces mental load
Your brain stops holding a million “don’t forget to reply to…” thoughts because the wedding communications live in one clear place.
Should you keep using it after the wedding?
Yep, and I actually recommend it.
Here are smart “after the wedding” uses:
Turn it into a family email (house stuff, utilities, school emails, travel confirmations)
Use it for shared subscriptions and household vendors (lawn care, pest control, renovations)
Keep it as a records inbox (warranty receipts, appliance manuals, insurance docs)
Pro tip: If you name it something broader (not “julieandjohnwedding”), it’s easier to keep using forever. Since I am in my bridal era this year, our email is (Last Name)(Last Name)@gmail.com, but I plan on keeping my last name as part of my middle name.
What email platform should you use?
You don’t need to overthink platforms. Gmail is the most common choice; it’s incredibly easy to organize with labels and filters, and it integrates seamlessly with Google Drive and Google Calendar.
That said, there are a few solid email platforms couples commonly use for wedding planning.
Gmail (Google)
Best for: organization (labels + filters), search, shared access, easy integrations
Why it’s great: labels, filters, stars, categories, super strong search, can connect to Drive/Calendar
Outlook (Microsoft)
Best for: people who live in Microsoft Office (Word/Excel/OneDrive)
Why it’s great: rules + folders are solid; plays well with Microsoft accounts and desktop apps
iCloud Mail (Apple)
Best for: Apple-only households
Why it’s great: clean + simple, but fewer power-user features than Gmail
Proton Mail (privacy-focused)
Best for: couples who want extra privacy
Why it’s great: privacy-first, but can be less convenient for integrations and shared workflows
If you already use Gmail day-to-day: use Gmail. Keeping it simple beats “perfect.”
Choosing a wedding email address that won’t annoy you
You want it:
short enough to say out loud
not cringey
not a nightmare to type
Ideas that age well:
lastname.lastname@gmail.com (easy to reuse later)
thelastnamehome@gmail.com (great for after wedding)
lastnameplanning@gmail.com
julieandjohninfo@gmail.com (sounds neutral + reusable)
palmercaddell@gmail.com (clean and future-proof)
Avoid:
super long handles
numbers you’ll forget
anything too theme-y that you’ll hate in 18 months
Step-by-step: Setting up a wedding email in Gmail
Step 1: Create the account
Go to Google and create a new Gmail address.
Use a strong password (more on this below).
Add recovery phone + recovery email (DO THIS — future-you will thank you).
Step 2: Add your signature (so you look put-together automatically)
In Gmail:
⚙️ Settings → See all settings
Scroll to Signature
Create something simple:
Example:
Julie & John
Wedding: September 2027
(optional) Phone number
(optional) Wedding website link
Keep it short. No one needs a novel under every email.
Step 3: Turn on 2-step verification (seriously)
Wedding emails contain addresses, invoices, and vendor info. Protect it.
Google Account → Security → 2-Step Verification
Use an authenticator app if possible (more secure than text)
Step 4: Make labels (Gmail’s secret weapon)
Labels are like folders, but better.
Suggested label list:
Venue
Catering / Bar
Photographer / Video
Florals
Attire
Hair + Makeup
Rentals
Invitations / Stationery
Music / DJ
Officiant
Hotels / Travel
Timeline / Logistics
Payments / Invoices
Guests / RSVPs
Receipts / Orders
Step 5: Create filters so Gmail auto-sorts everything
This is where your wedding email becomes chef’s kiss.
How:
In Gmail search bar, click the little filter icon (sliders).
Put in a vendor email (or a keyword like “invoice”).
Click Create filter
Choose actions like:
Apply label (ex: “Venue”)
Star it (for important people)
Skip Inbox (only if you’re brave, most people shouldn’t)
Easy filter ideas that save your sanity:
Anything with “invoice”, “contract”, “payment” → label: Payments / Invoices + Star
Anything from your venue email address → label: Venue
Anything with “RSVP” or “dietary restrictions” → label: Guests / RSVPs
Step 6: Set up a “VIP” system
In Gmail, stars are underrated.
Use:
⭐ Star = must reply / urgent
✅ (or another star color) = done / handled
You can also create a label like:
“To Reply”
“Waiting On Them”
“Final Copies”
Step 7: Create a Google Drive folder structure that matches your labels
This is a huge “little trick.”
In Google Drive (on that same account), create:
01 Contracts
02 Invoices + Receipts
03 Inspiration
04 Guest List
05 Timeline + Notes
06 Ceremony
07 Travel
08 Vendor Info
Whenever you get a contract PDF, save it straight into Drive. Now your wedding paperwork is searchable and backed up.
Step 8: Create a shared Google Calendar (optional but amazing)
If you’re already using Google Calendar (you are), this is a no-brainer.
Make a calendar called:
“Wedding Planning”
Add:
payment due dates
tastings
meetings
dress fittings
RSVP deadline
final headcount due date
Then share that calendar with your partner so you’re both seeing the same reality.
The “little tricks” people forget (but you shouldn’t)
Use one master subject line format with vendors
Example:
Subject: “Caddell Wedding — Question about timeline (Sept 2027).”
It makes searching effortless, and vendors can find you instantly.
Put key details in your email signature
If your wedding is a destination, put the location in your signature. Vendors ask less.
Keep a draft email template for inquiries
Create a draft called “Vendor Inquiry Template” so you don’t rewrite the same thing 14 times.
Include:
date
location
approximate guest count
what you’re looking for
how you prefer communication
Use “Send mail as” if one person is the main communicator
If you want to email vendors from the wedding email without logging in constantly, Gmail lets you add that account to your main Gmail and send from it.
(Keep it optional, some couples like the “one inbox only” rule better.)
Don’t let random newsletters ruin your life
If you use wedding sites/apps that spam you, filter them straight into a label like:
“Wedding Apps / Promo”
So your inbox stays for real messages.
Should both partners log in, or should one person forward?
Two clean options:
Option A: Shared login (simple)
Both partners have the password + 2FA (Two-Factor Authentication). Both can reply. Best for true shared planning.
Option B: One person runs it + forwards action items (controlled chaos)
Better if one person is more type-A or you want fewer “double replies.”
If you choose this, set a rule: only one person emails vendors to avoid confusion.
What to do next (so you don’t stop at “created the email”)
If you do nothing else, do these 5 things:
Turn on 2-step verification
Create labels
Create 3–5 filters
Make a Drive folder for contracts + receipts
Add payment due dates to a wedding calendar
That’s the difference between “we have a wedding email” and “wow this is actually working.”